Customize partner onboarding form using visual editor
The questionnaire is designed to be simple and intuitive. The flow includes email verification to prevent spams.
To create an onboarding form using the visual editor:
-
Click the Programs tab.
The Program Manager page opens. -
Click Customize in the relevant dialog box to create an onboarding form for Developer/ISV program or Reseller program.
The relevant program page opens.
Developer Program page: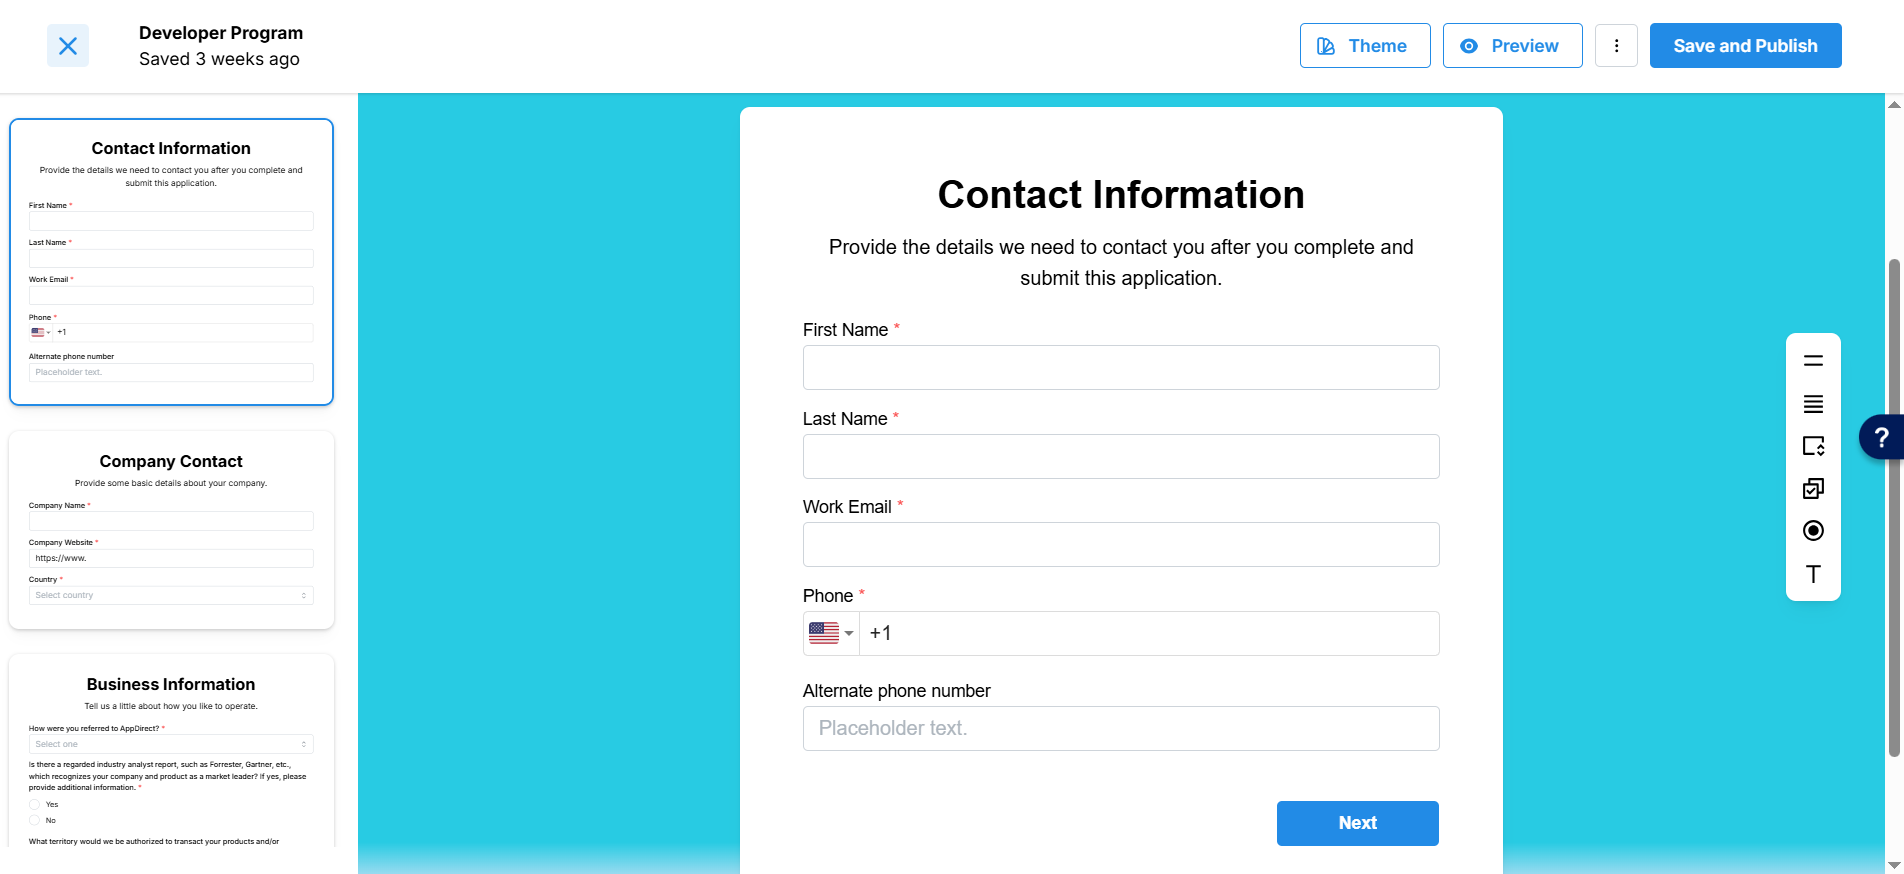
Reseller Program page:
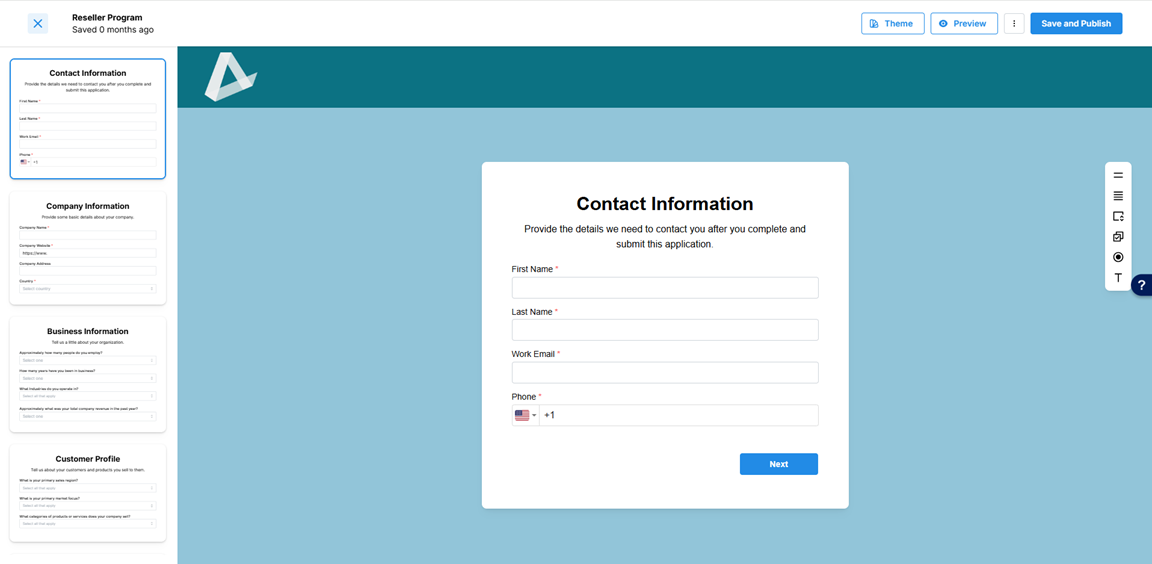
-
Default step options are available in the left pane. Click the step you want to edit. It opens in the center workspace.
-
You can add more fields to the default step from the tool bar on the right by clicking any of the following options:
Icon Description 
Short answer: click this icon to insert a field that requires a short answer. 
Long answer: click this icon to insert a field that requires a long answer. 
Dropdown list: click this icon to insert a drop-down list. 
Multiple choice: click this icon to insert a multiple choice option. 
Single choice radio button: click this icon to insert a radio button. 
Rich text: click this icon to insert a rich text field. -
On adding the additional fields you can do the following:
- Update the field name as required by editing the Label.
- Reposition the step by holding the cursor on the
 icon and moving it up or down as required.
 - Duplicate the step, delete it or move the step to another page of the form by clicking the icon and selecting the required action.

-
Click Next, to move to the next step. Edit as required.
-
To add, duplicate, or delete a step, click the gear icon that appears on the upper right corner of the existing step in the left pane.
-
To reposition a step in the form, hold the cursor on the step in the left pane and move it up or down.
📝 Note: The following steps are mandatory in the form and cannot be deleted or repositioned:
- Additional Information step
- Email Verification step
- Magic link expiry step
- Thank you step
-
Click Theme to set the background for the form. For more information on how to set a theme, see Customize theme for the form.
-
Click Preview to view the form as it will appear for the Developer or Reseller.
-
Click Save and Publish.
The form is saved and published.
Was this page helpful?
Tell us more…
Help us improve our content. Responses are anonymous.
Thanks
We appreciate your feedback!