This feature is currently in Early Availability (EA) status. For more information, see our product lifecycle phases.
Uploading an Extension
After developing your extension, the next step is to upload it to the platform. Follow these steps to upload your extension and make it available to users.
Step 1: Build your extension
In your terminal, go to your extension folder (the one that contains your extension code and assets). Run npm run build. The terminal should show a message when the build completes.
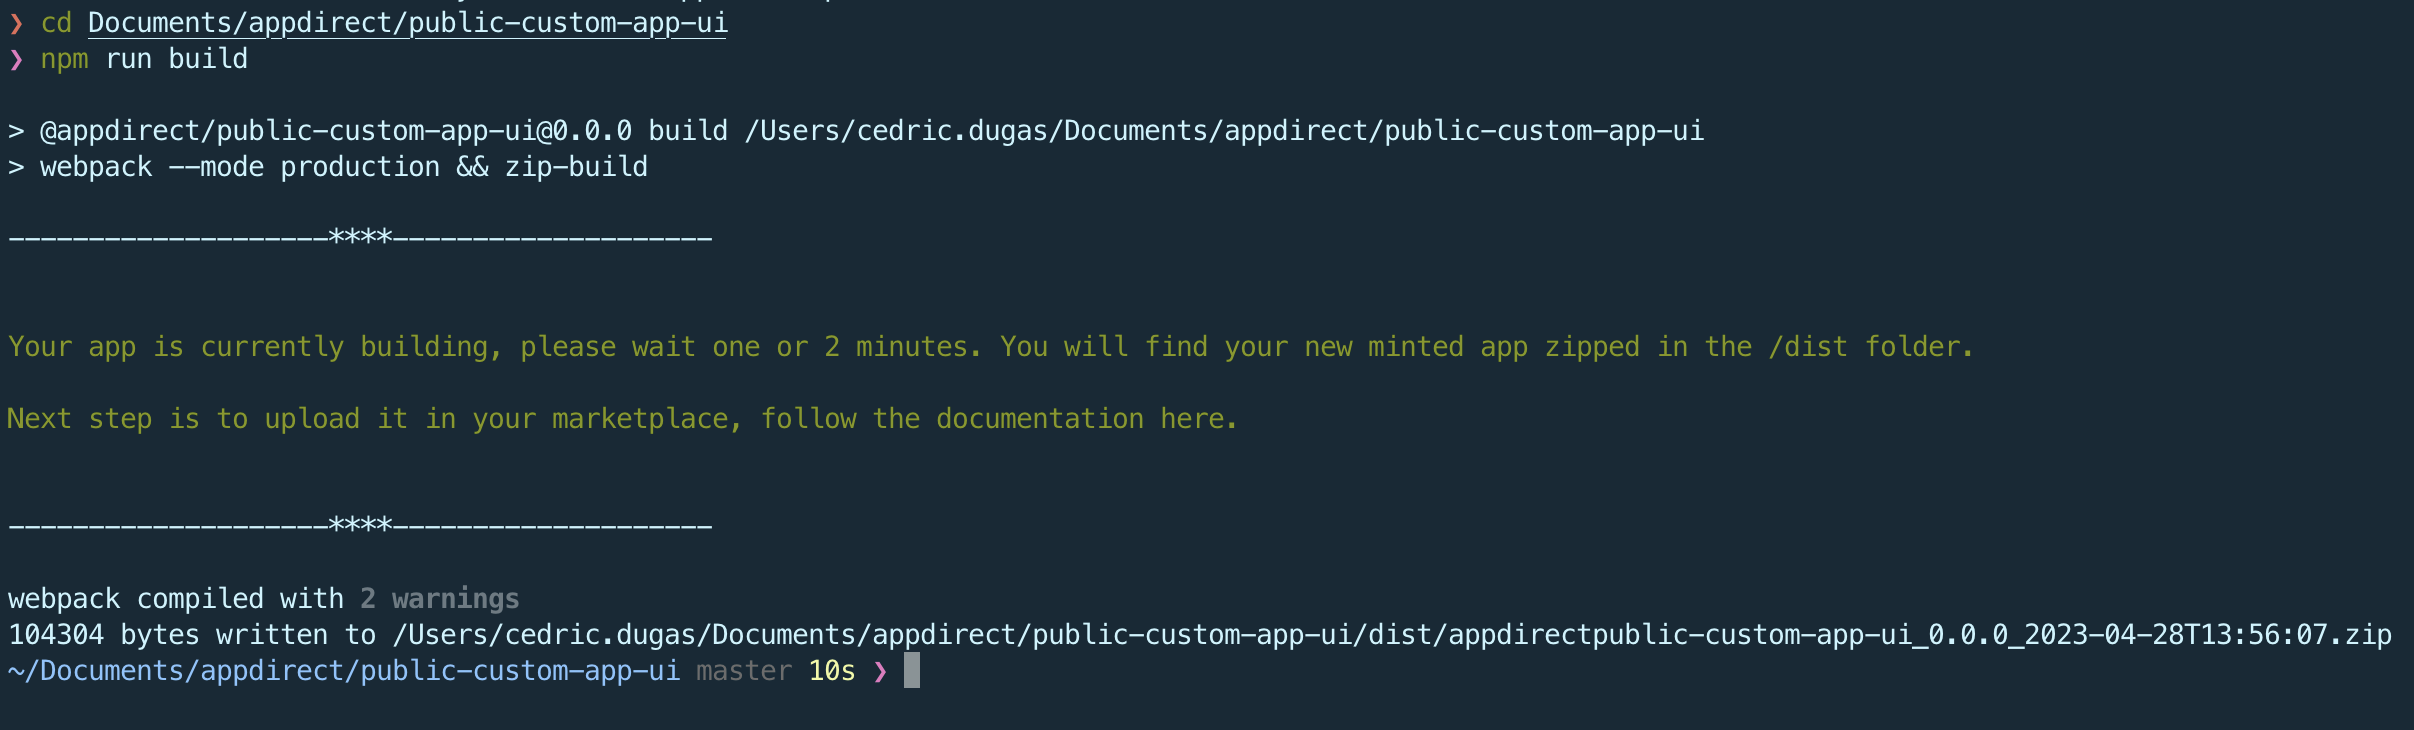
Step 2: Locate your extension zip file
When the build finishes, go to the dist folder in your extension folder. A new zip file containing the latest version of your extension will be there. If there are multiple zip files, use the one with the most recent date and time.
The remaining steps are done in the marketplace UI. Extensions cannot be uploaded from the toolkit.
Step 3: Log in to the marketplace
Log in to the marketplace where the extension will be hosted. Go to the marketplace login page and enter your credentials to access the dashboard.
Step 4: Go to the extensions section
In the marketplace dashboard, go to /admin/extensions. There you can manage your extensions and upload new versions.
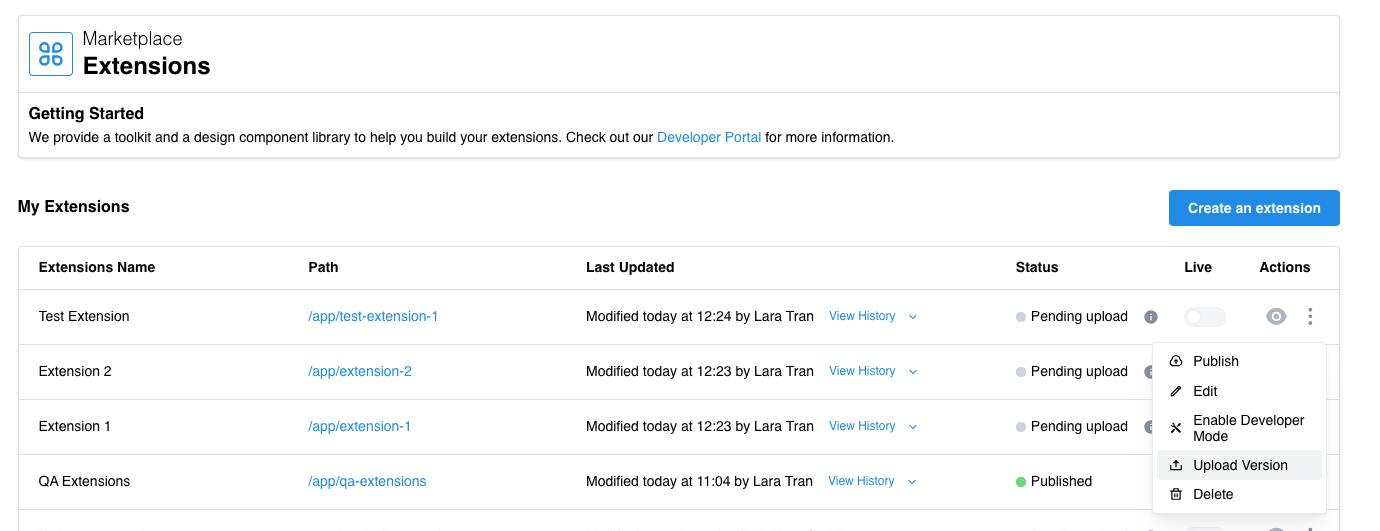
Step 5: Select your extension and upload the new version
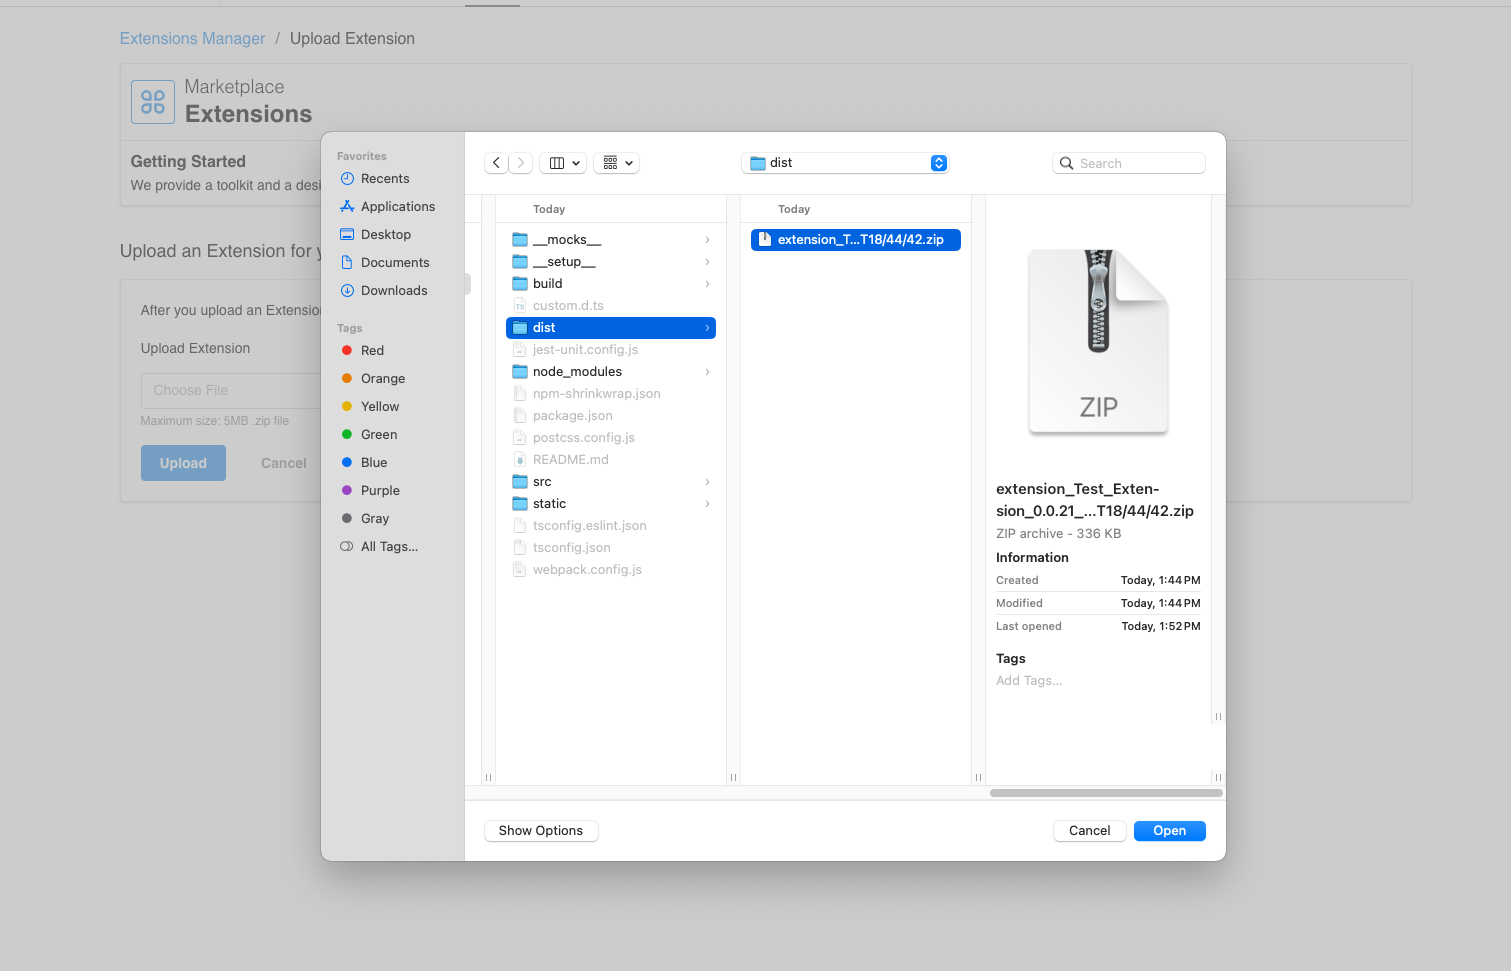
In the extensions list, find your extension and click the three-dots menu on the right. Select "Upload extension." In the upload form, select the zip file from step 2 and click the upload button.
Step 6: Preview and publish your extension
When the upload completes, you are redirected to the extensions list. You can preview the new version before publishing. For details on publishing and making your extension live, see the preview and publish section.
Next, preview and publish your extension to make it available to users.
Was this page helpful?
Tell us more…
Help us improve our content. Responses are anonymous.
Thanks
We appreciate your feedback!